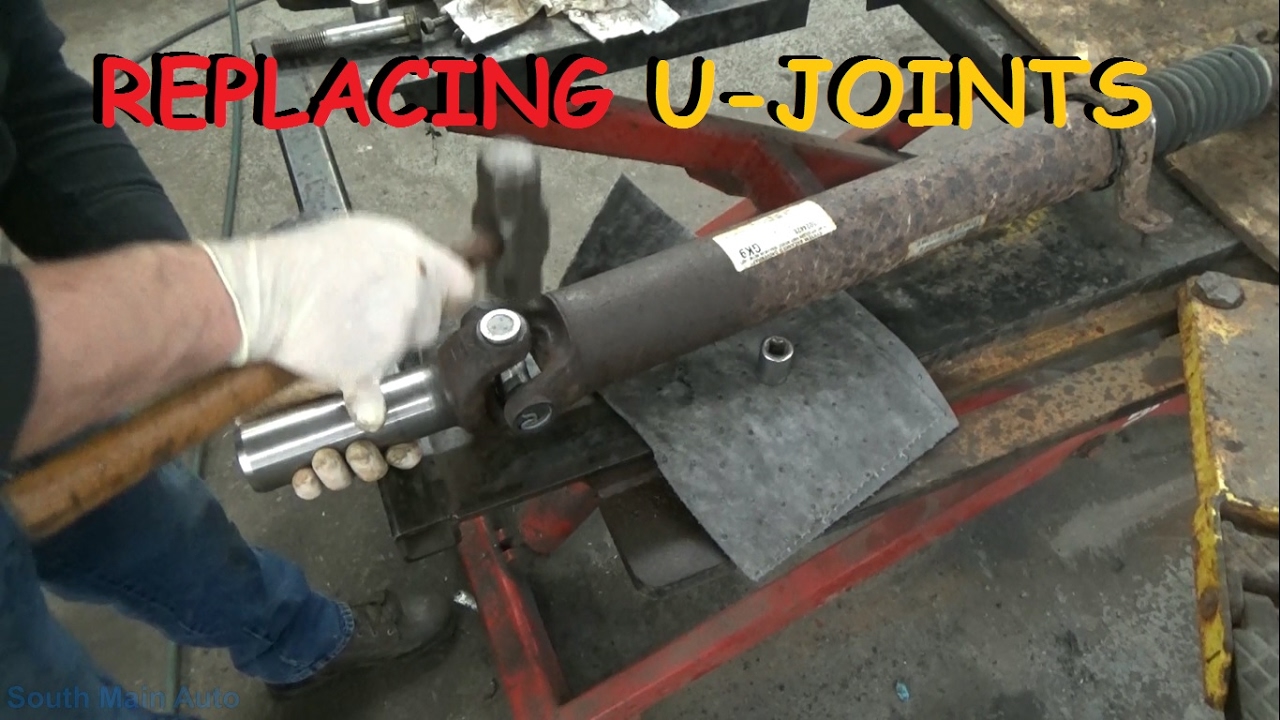
How To Replace U-Joints (ULTIMATE Guide Using BFH)
video description
Date: 2020-08-05
Related videos


Comments and reviews: 10
NissanAltima2005
Nissan service manual instructs as you did, the hammer method except there is different thickness snap ring to center the cross around the driveshaft axle. But don't wory, I've just disassembled a factory assembled (from Japan) driveshaft that has some play (around 0. 30 mm) in the u-joint due not installing the proper thickness snap rings. All of them were off by more than 0. 2mm from factory and I thing the operator just did as you did by press fitting the bearing caps to preload the bearing and then loss them a bit by the hammer method.
reply
Nissan service manual instructs as you did, the hammer method except there is different thickness snap ring to center the cross around the driveshaft axle. But don't wory, I've just disassembled a factory assembled (from Japan) driveshaft that has some play (around 0. 30 mm) in the u-joint due not installing the proper thickness snap rings. All of them were off by more than 0. 2mm from factory and I thing the operator just did as you did by press fitting the bearing caps to preload the bearing and then loss them a bit by the hammer method.
reply
Raven
Yeah, that's the way I do it. Beat the snot out of it. More cussing though. I like to watch someone else do it. My throat doesn't get sore from all the cussing. Years ago when I was changing a clutch on my 67 Chev pick-up, crawling around on a cement floor underneath it trying to get the bolts in on the bell-housing, and my mother unknowingly came out to see how I was doing. Ruh-oh.
reply
Yeah, that's the way I do it. Beat the snot out of it. More cussing though. I like to watch someone else do it. My throat doesn't get sore from all the cussing. Years ago when I was changing a clutch on my 67 Chev pick-up, crawling around on a cement floor underneath it trying to get the bolts in on the bell-housing, and my mother unknowingly came out to see how I was doing. Ruh-oh.
reply
Tony
The other common way would be to use a large vise, likely faster in this case where the joint is stubborn. I find it funny when you found a piece of your gloves missing. When I started, those gloves were not popular we just use bare hands no matter how dirty. Cotton gloves absorb all the oil and grease, so they are useless. We had hands like sandpaper our wives said.
reply
The other common way would be to use a large vise, likely faster in this case where the joint is stubborn. I find it funny when you found a piece of your gloves missing. When I started, those gloves were not popular we just use bare hands no matter how dirty. Cotton gloves absorb all the oil and grease, so they are useless. We had hands like sandpaper our wives said.
reply
soundtechmike
Eric i can't believe no one noticed that after u got the 2 caps loose one way and turned it 90 degrees to work on the other 2 you were hitting the joint caps which was only banging the cross in the other caps. you needed to bang the yoke to bang it down off the caps. i was reluctant to say because i have done that before. About 28 mins, in.
reply
Eric i can't believe no one noticed that after u got the 2 caps loose one way and turned it 90 degrees to work on the other 2 you were hitting the joint caps which was only banging the cross in the other caps. you needed to bang the yoke to bang it down off the caps. i was reluctant to say because i have done that before. About 28 mins, in.
reply
Michael
I would remove the clips, punch them out like you. When the cup or cap moves out hit it with a little heat not to much, and you could remove them with a pair of pliers or vice grips ( Plastic originals I wouldn't use heat. Good video. Thank you.
reply
I would remove the clips, punch them out like you. When the cup or cap moves out hit it with a little heat not to much, and you could remove them with a pair of pliers or vice grips ( Plastic originals I wouldn't use heat. Good video. Thank you.
reply
where
hey man i just saw you beat the shit out of u-joint that should have taken about 5 minutes to remove with a tiger tool u joint remover. should buy one itll save you a whole lot of time instead of you dicking around with a hammer and punch
reply
hey man i just saw you beat the shit out of u-joint that should have taken about 5 minutes to remove with a tiger tool u joint remover. should buy one itll save you a whole lot of time instead of you dicking around with a hammer and punch
reply
ratman90gmail
I am so glad to see you having the problems. I am relieved to know that If I have a problem getting one out, It is not me just screwing up or not knowing what I am doing! Thanks you for showing us the troubling issues as well.
reply
I am so glad to see you having the problems. I am relieved to know that If I have a problem getting one out, It is not me just screwing up or not knowing what I am doing! Thanks you for showing us the troubling issues as well.
reply
Obwan
For the wire brush usually I get one from harbor freight - a 3/4 plumbing fitting brush, and cut the handle off.
Then you can just put it in a drill. Cleans the groove and get and rust out of the bore
reply
For the wire brush usually I get one from harbor freight - a 3/4 plumbing fitting brush, and cut the handle off.
Then you can just put it in a drill. Cleans the groove and get and rust out of the bore
reply
Taxi
in my experience, it's always just the rear one. I've heard that from several mechanics, but that's never been MY experience. Speaking of experience, any special tips for Suburbans with the aluminum shaft?
reply
in my experience, it's always just the rear one. I've heard that from several mechanics, but that's never been MY experience. Speaking of experience, any special tips for Suburbans with the aluminum shaft?
reply
Mark
I will put a link to Weber Auto, they have a great series on how to change U-joints properly. Now stand back and watch me show you how not to do it, see this big hammer. Slam, slam, slam. Good grief.
reply
I will put a link to Weber Auto, they have a great series on how to change U-joints properly. Now stand back and watch me show you how not to do it, see this big hammer. Slam, slam, slam. Good grief.
reply
Add a review, comment
Other channel videos