How to Install and Use Excel Add-Ins Add-Ins Tutorial
FBTwitterReddit
video description
Rating: 4.0; Vote: 1
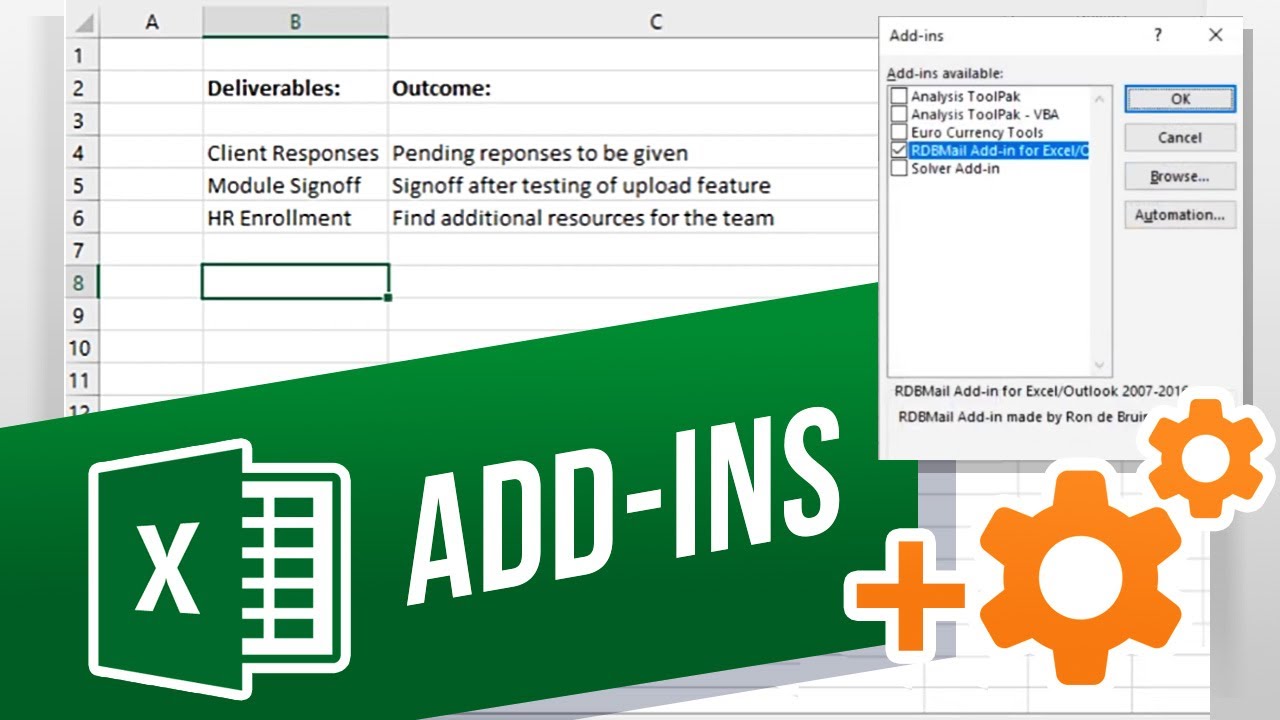
we will show you how install and use add-ins in Excel.
Some add-ins are available in excel by default, others can be downloaded from the download center or through third-party websites who created them. These provide additional features that you might want to include in Excel.
Lets say we want a feature through which we can easily email all or part of the workbook, while working in Excel.
For that, we have an add-in file downloaded here from a third-party website, which we will install in Excel. Excel add-in files have the DOT X L A M extension.
Start by moving to the file menu and clicking on Options. Once the pop-up window opens up, click on the Add-ins option. At the bottom, where it says manage, make sure that the Excel Add-ins option is selected from the drop-down menu. After that, click the Go button.
This will open up the Add-ins window here where it shows all the add-ins installed. If the box is not checked here, that means the add-in is installed but not enabled. Since we already have downloaded the add-in, lets click on the browse button here.
Now lets browse and select the add-in file that we have downloaded. Once selected, it will be added it to the add-ins list here and it will be enabled by default. Once you click OK, Excel will load up the add-in.
And you can see over here that a new tab has been added. Now you can simply move over to the tab and it will present all the functions that offered through the add-in.
So, for example lets select the cells here and through this option, we can directly send the data over email Date: 2023-07-08